Set-up: OneDrive
All St Leonard’s College students in years 5-12 are expected to use OneDrive as their primary file storage location. This is important to avoid the loss of work, but also to ensure that our IT Helpdesk is able to restore access in certain cases. Keeping your files in the cloud also allows for easy transfer in case of a lost or damaged device, and ensures that you have access to your assessment tasks even if you forget your device at home.
Anything uploaded to your OneDrive is accessible by the College. Be aware of what you’re uploading and monitor the folders you choose to sync.
Windows Laptop
If you’re using Windows 10 or 11, your computer already has the OneDrive app installed – skip to step 2.If you don’t have Windows 10, 11, or Office 2016, install the Windows version of the OneDrive sync app.
- Open OneDrive settings
- Select the OneDrive cloud icon in your notification area
- Select the OneDrive Help & Settings icon, then Settings
- Go to the Sync and backup tab
- Select Manage backup Choose the folders you want to sync
If you have no accounts signed in to OneDrive
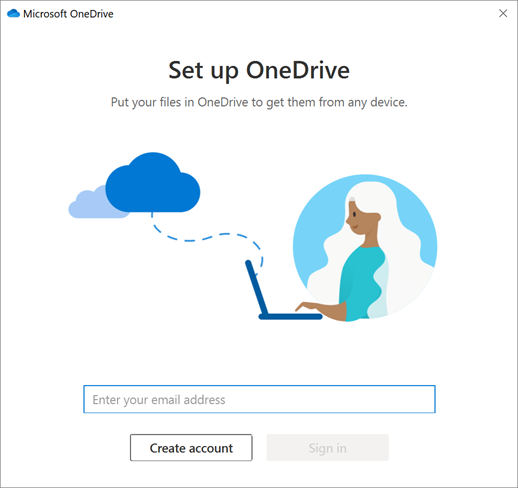
If you don’t have an account signed in to OneDrive, use these instructions to start OneDrive.
When OneDrive Setup starts, enter your personal account, or your work or school account, and select Sign in.
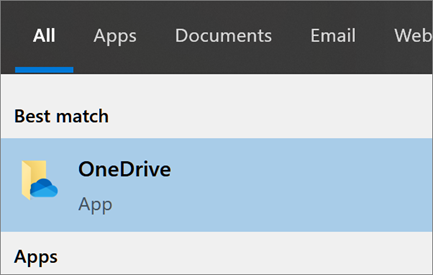
Select the Start button, search for “OneDrive”, and then open it:
In Windows 10 or 11, select OneDrive.
Key points in OneDrive Setup
There are two screens in OneDrive Setup that are helpful to watch for:
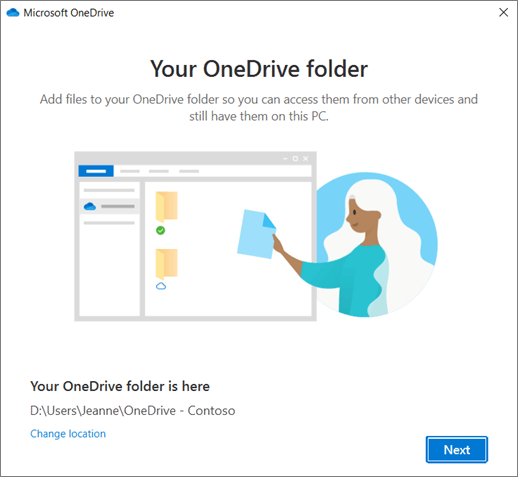
- On the This is your OneDrive folder screen, select Next to accept the default folder location for your OneDrive files. If you want to change the folder location, select Change location – this is the best time to make this change.
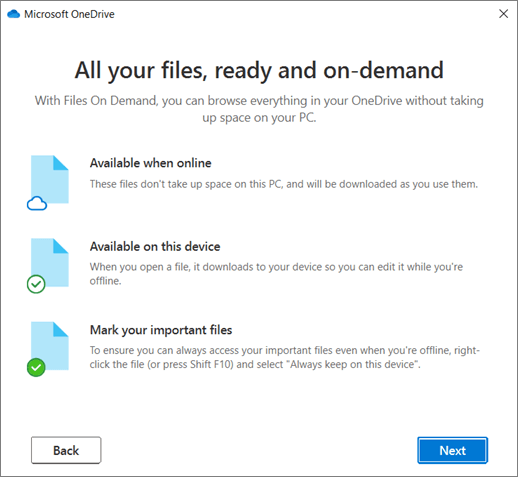
- On the All your files, ready and on-demand screen, you’ll see how files are marked to show them as online-only, locally available, or always available. Files On-Demand helps you access all your files in OneDrive without having to download all of them and use storage space on your Windows device. Select Next.
Note: If you were already syncing OneDrive for work or school to your computer (using the previous sync app) and you’ve just installed the sync app, you won’t see the This is your OneDrive folder or the Sync files from your OneDrive screen during OneDrive Setup. The sync app automatically takes over syncing in the same folder location you were using before. To choose which folders you’re syncing, right-click the blue cloud icon in the taskbar notification area, and select Settings > Account > Choose folders.
See and manage your OneDrive files
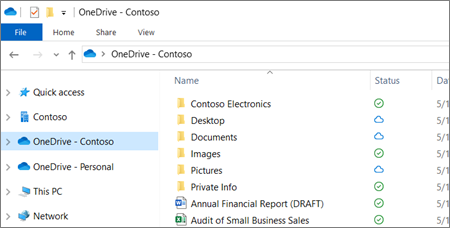
You’re all set. Your OneDrive files will appear in File Explorer in the OneDrive folder. If you use more than one account, your personal files appear under OneDrive – Personal and your work or school files appear under OneDrive – CompanyName.
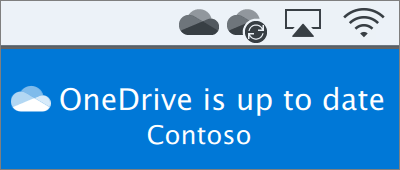
You now have a new white or blue cloud icon (or both) in your notification area and your files are synced to your computer. Your blue cloud icon will appear as OneDrive – CompanyName when you hover over the icon.
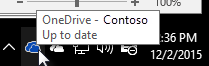
Note: Contoso is an example name – yours will show the name of your organization.
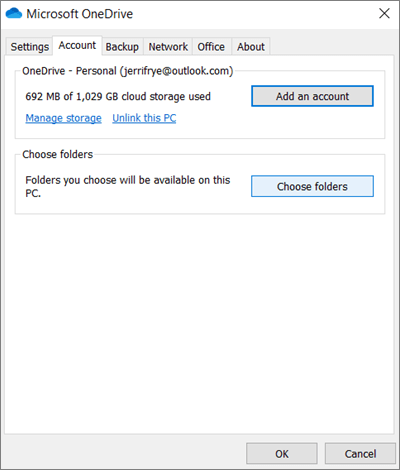
Any time you want to change the folders you sync on your computer, right-click that cloud icon in the taskbar notification area, and select Settings > Account > Choose folders. Find other information about your account and change other OneDrive settings from here.

Apple Laptop
- Install OneDrive for Mac.
Important: If you are currently using the OneDrive Mac Store app, you must first uninstall it before installing the latest build of the sync app. - Start OneDrive Setup.
Method 1: If you have no accounts signed in to OneDrive
If you’re not signed in to OneDrive with any account, start OneDrive to connect a work or school account.
Enter your work or school account and then select Sign in to set up your account.
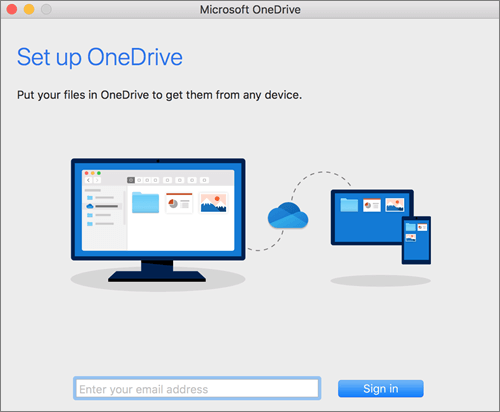
Start OneDrive by pressing cmd+Space to launch a Spotlight query and type OneDrive. This starts OneDrive Setup.
Method 2: If you already have an account signed in to OneDrive
If you already have an account signed in to OneDrive, you can add other accounts in OneDrive Preferences.
Note: You can have more than one work or school account, but only one personal account. You cannot add two accounts from different organizations if they share the same display name.
Enter your work or school account and click Sign in.
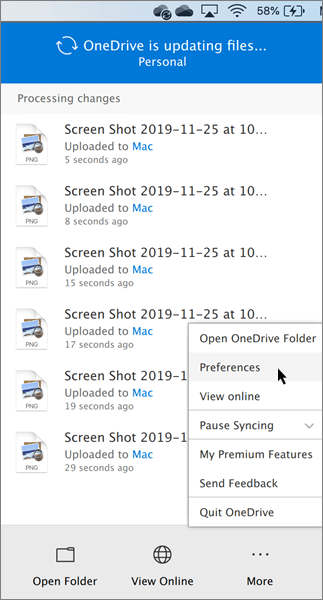
Click the OneDrive cloud icon up in your Menu bar, click the three dots to open the menu, and select Preferences.
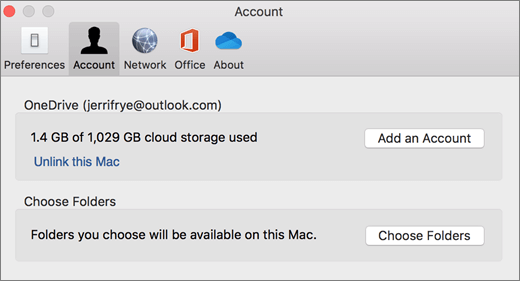
Click the Account tab, and then select Add an Account to start OneDrive Setup.
Key parts of OneDrive Setup
There are a few points of OneDrive Setup that are helpful to watch for:
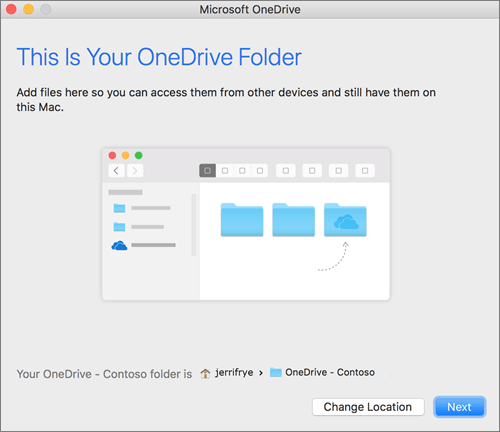
- When setting up your OneDrive, it has a default location set. However, you can change this during setup. On the This is your OneDrive folder screen, click Change Location.
Select a location where you would like to save your OneDrive files and click Choose this location.
When you see the This is your OneDrive folder screen, you’ll now see a path to the folder you selected. Click Next to continue.
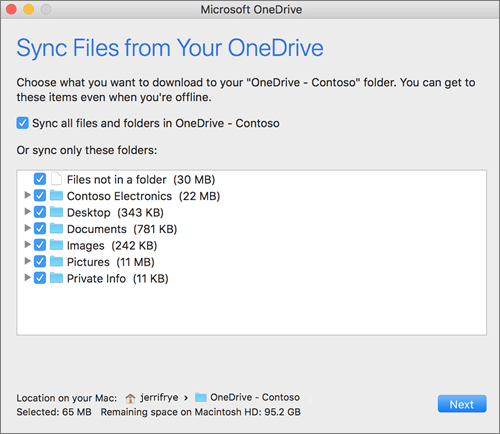
- On the Sync Files from Your OneDrive screen, you can choose the folders you want to sync to your computer, and click Next. This conserves space on your computer, and reduces bandwidth needed for the sync processes.
- You’re done! Click Open my OneDrive folder to see your files sync to your folder.
You can find OneDrive up in your Menu bar. You’ll have a cloud icon for every account you’ve connected to OneDrive. So you’ll have one cloud if you’re only syncing a work or school account, one cloud if you’re syncing only a personal account, or two clouds if you’re syncing both.